Initial Setup of a MikroTik CRS309 Switch
2025-04-05Setting up a new MikroTik CRS309 turned out to be a bit more complicated than anticipated.
This post outlines my process of setting up the switch. The screenshots show the newer gui as I’m reconstructing this process after setting everything up.
Login to Admin Gui
The MikroTik manual states you need to use a windows program called winbox but I found out,
the switch has a web gui running on port 80, so thats what I used. The switch boots up with
an ip of 192.168.88.1 and a netmask of 255.255.255.0 so you need to set some ip in the
same subnet to access the web gui.
On Linux, run this as root ip address add 192.168.88.8/24 dev <interface> and then
open the admin gui at http://192.168.88.1.
git
The manual [1] says sometimes you only need the username admin and no password and sometimes
the password is printed on the sticker of the switch - in my case, it was the latter.
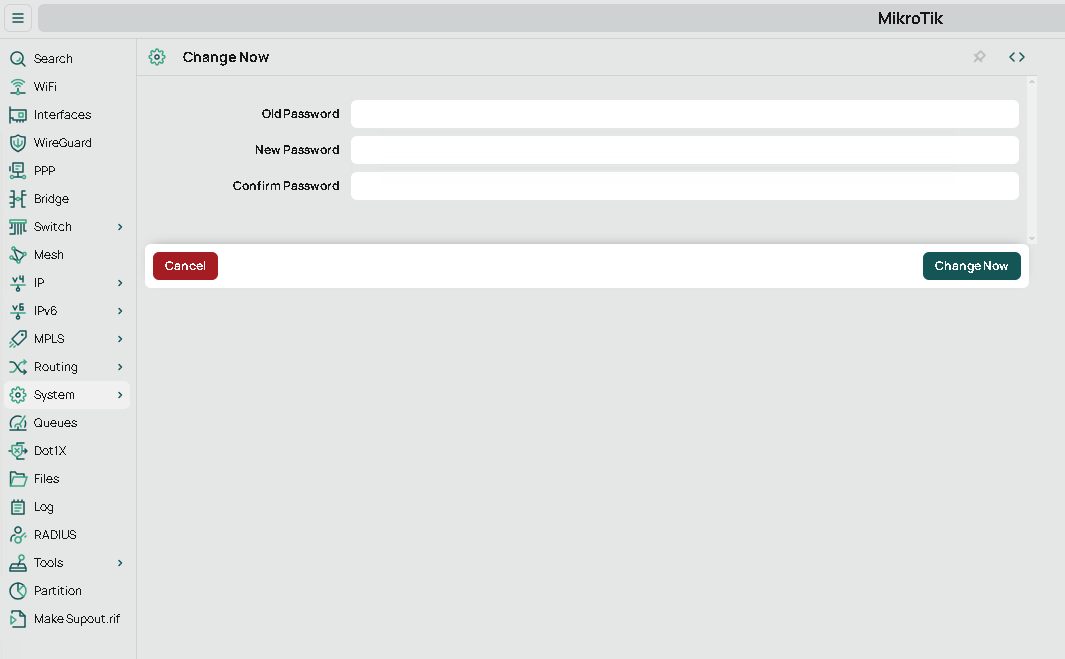
Change RouterOS Password
After logging into RouterOS, the first thing to do, is to change the password.
Setup Networking
The next step is to configure a few network related things. In my case, I changed it over to dhcp so becomes its part of my 10.x.x.x network and i can access it without any static ip hackery.
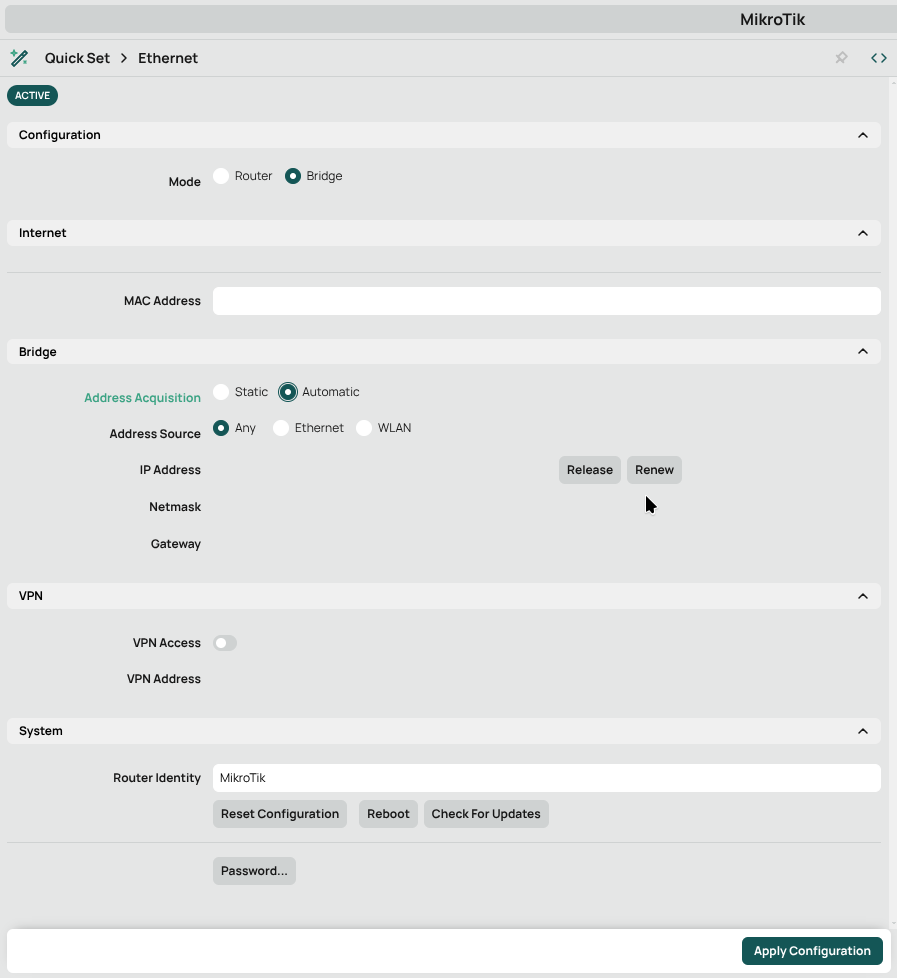
The dhcp became active immediately after saving. You can now log in using the ip you’ve configured on your dhcp server.
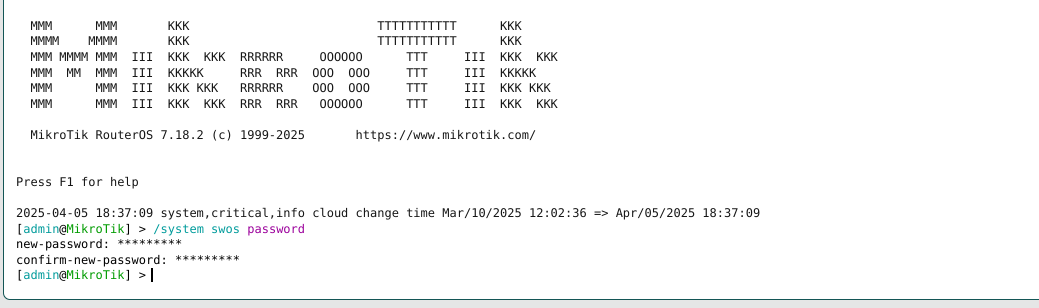
Change SWOS Password
According to Jeff Geerling [2] the next step is to also change the password for the SWOS
admin user. In the console, type /system swos password.
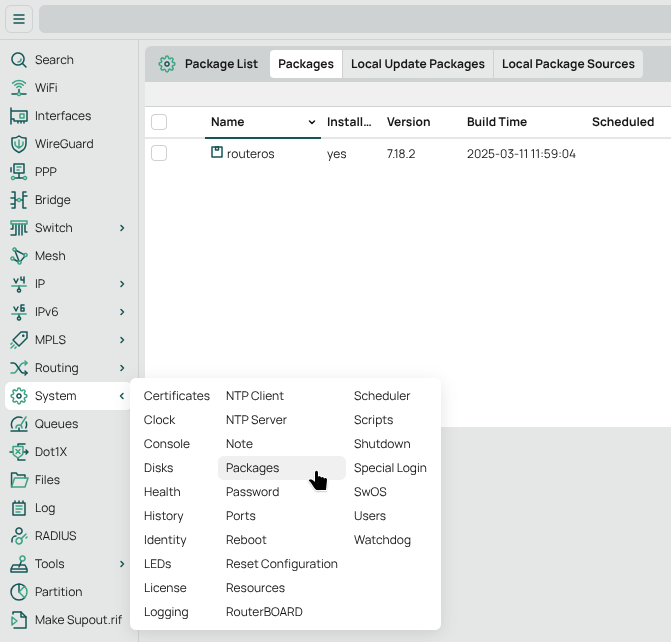
Update RouterOS
Next, update RouterOS under System > Package
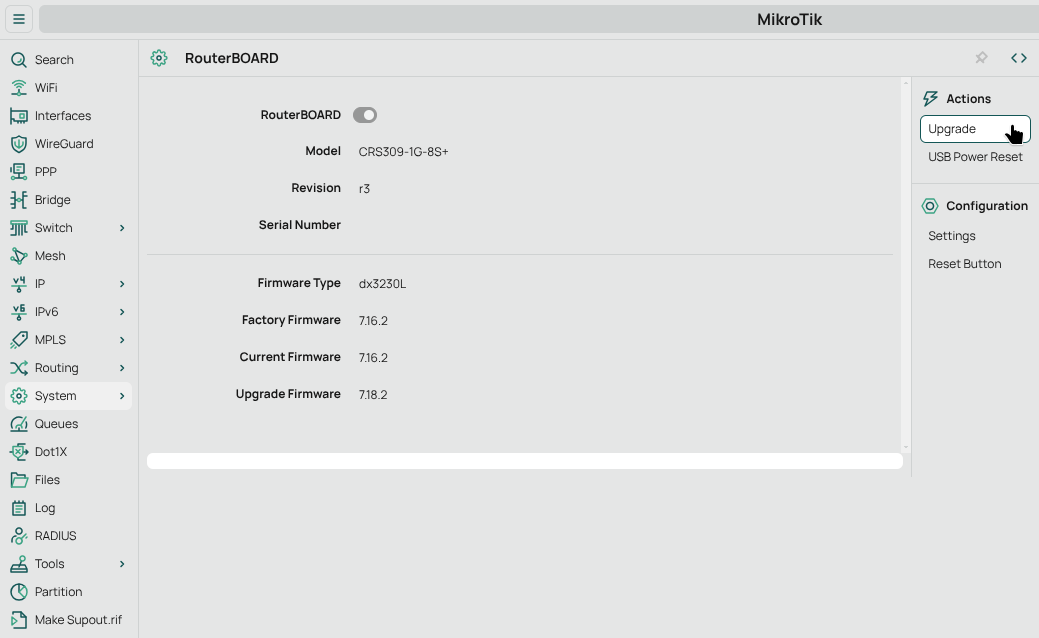
Update Firmware
Using System > RouterBOARD > Upgrade one can upgrade the Firmware. Not quite
sure what this is, but its up to date now.
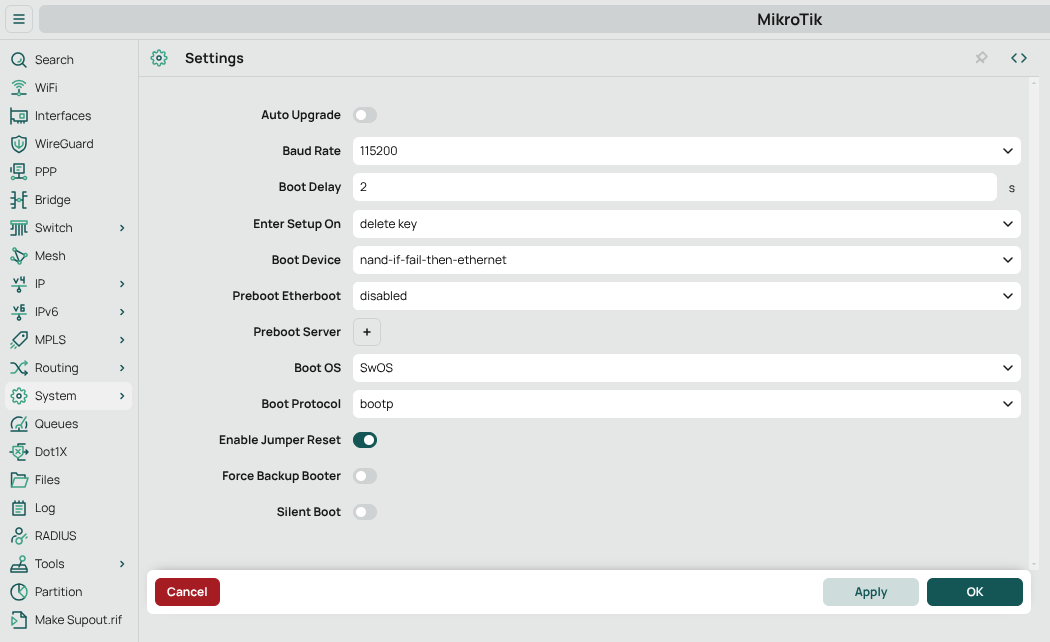
Switch to SwitchOS
This wasn’t so straight forward, and just changing to SWOS in the GUI under
System > RouterBOARD > Settings didn’t work. I got an error message refering to
device mode and changing this setting just wouldn’t work.
The MikroTik Documentation for Dual Boot [3] states, that one needs to execute
/system routerboard settings set boot-os=swos in the console, which then prints
a weird message prompting to power cycle the switch, to confirm the change. After
doing that, you’re free to change back and forth between RouterOS and SWOS in the
GUI as much as you want, it seems.
Reboot the switch using System > Reboot
SWOS Unresponsive?
After booting SWOS I wasn’t able to access the Switch anymore. It seems that, when
you switch over to SWOS, the Switch suddenly gives itself a new mac address, which
also means it’ll get a different ip in my network. After figuring that out (following
the dhcps traffic using dhcpdump -i eth0 on the dhcp server helps), i was able to
access the SWOS admin gui.
Update SWOS
In the Upgrade Tab, click Download & Upgrade if there’s an upgrade available
Done
I think that’s it - finally, we’re able to use this for what we bought it for: switching!
Epilogue
Resetting the Switch
I reset the Switch multiple times in writing this post and there’s multiple ways [4]. Neither of these ‘reset’ the installed packages or firmware, so I’m not sure how one would deal with broken packages after a bad update.
Reset Button
Unpower the switch, Press and hold the reset button, connect the switch to power, wait for the LED to blink, then release the button.
Software Reset
Run /system reset-configuration in the console or use the menu System > Reset Configuration.
References
[1] https://help.mikrotik.com/docs/spaces/UM/pages/17956906/CRS309-1G-8S+IN
[2] https://www.jeffgeerling.com/blog/2023/setting-mikrotik-10-gbps-switch-first-time